 +86 13794985240


0102030405

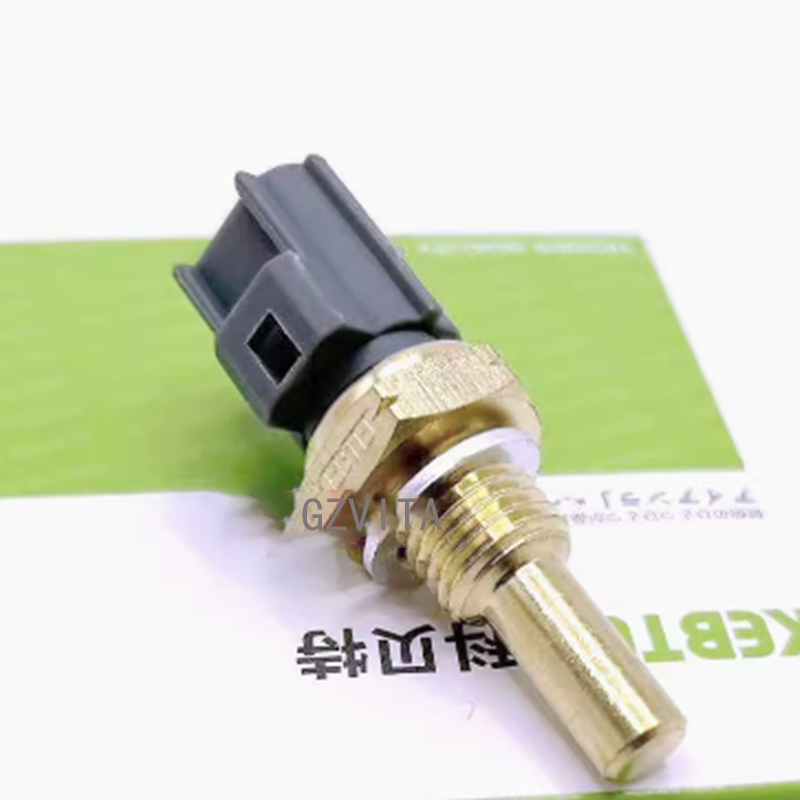

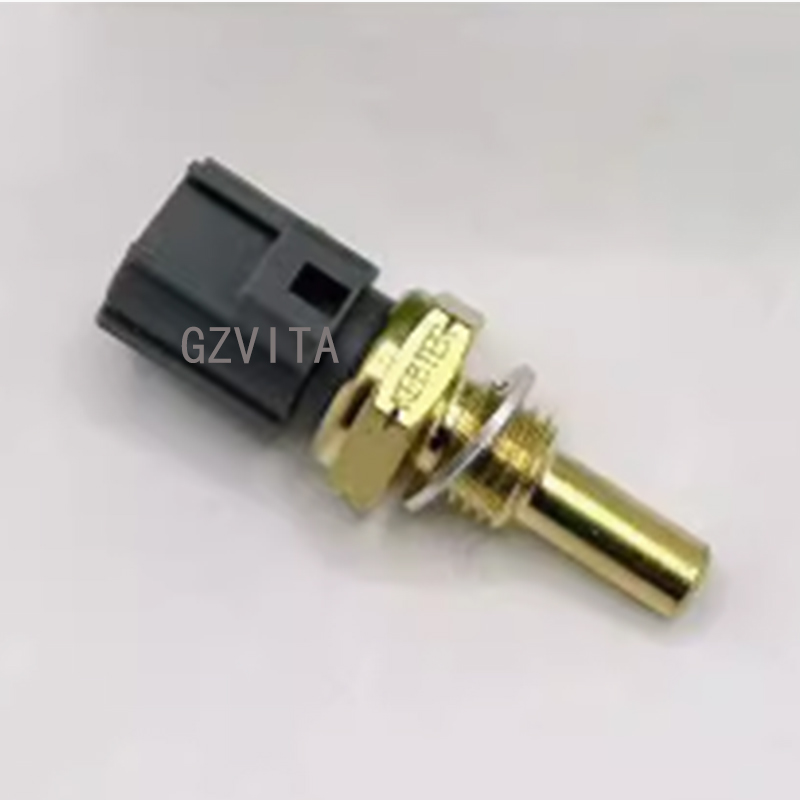

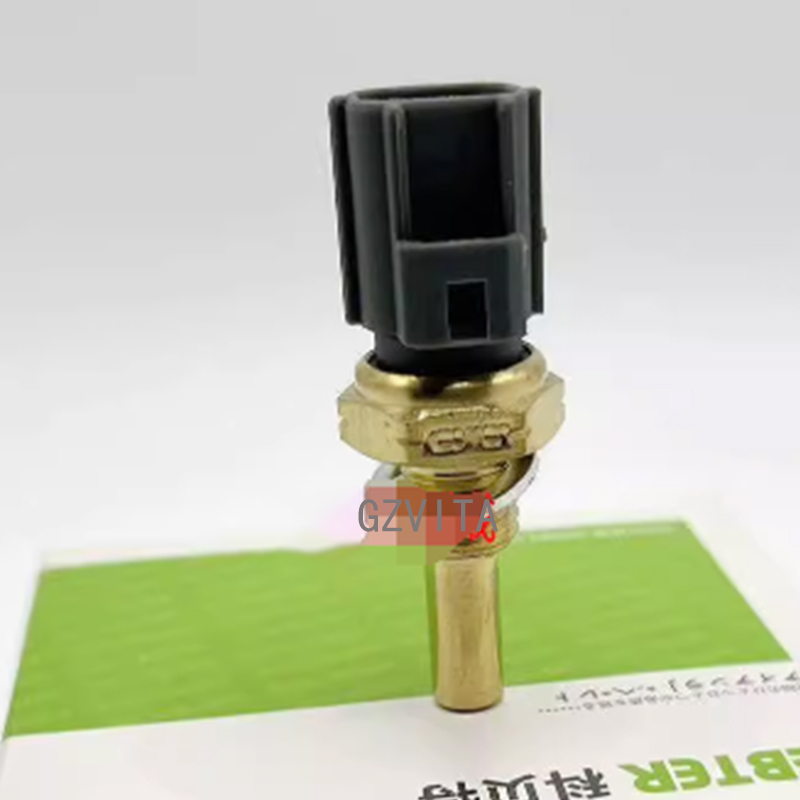
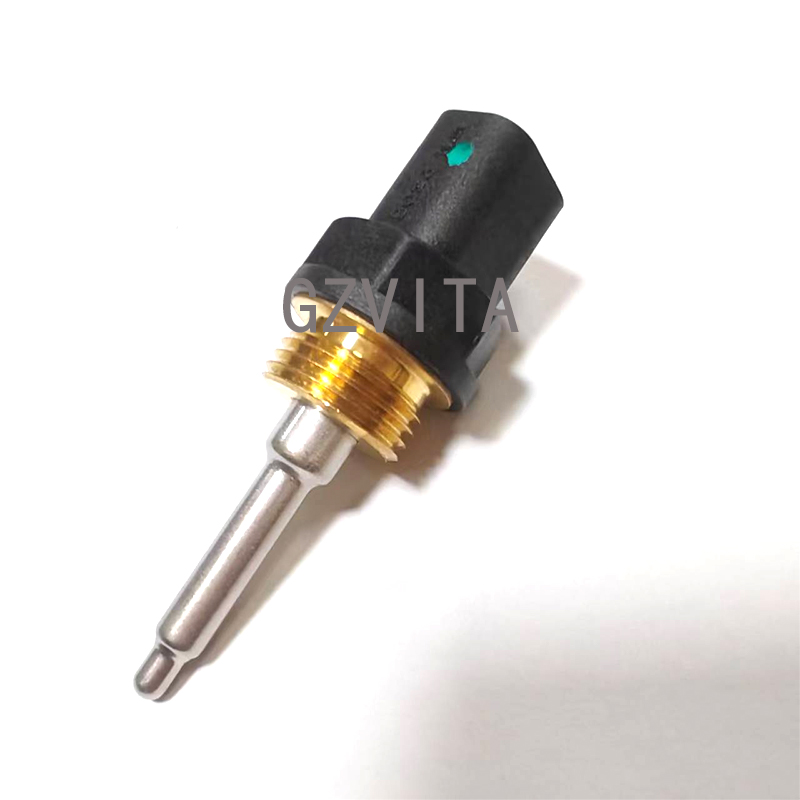
Water Temperature Sensor 179730-0040 For SH200A3 CX250C ZAX330
The notice for assembling the Water Temperature Sensor
When assembling a Water Temperature Sensor on an excavator, it’s important to follow specific guidelines to ensure proper installation and functionality.
Here’s a step-by-step notice for assembling the Water Temperature Sensor:
Gather Necessary Tools and Materials:
Water Temperature Sensor (ensure it’s the correct part for your excavator model)
Wrenches or sockets (appropriate size for the sensor)
Torque wrench (if specified in the manual)
Thread sealant (if required)
Clean cloth or rag
Safety gloves and goggles
Safety Precautions:
Ensure the excavator is turned off and the key is removed from the ignition.
Allow the engine to cool down completely to prevent burns.
Disconnect the battery to avoid any electrical issues during installation.
Locate the Sensor:
Refer to the excavator’s service manual to find the exact location of the Water Temperature Sensor. It is typically located near the engine block or in the coolant passage.
Remove the Old Sensor (if applicable):
If replacing an old sensor, carefully disconnect the electrical connector.
Use the appropriate wrench to unscrew the old sensor. Be cautious of any coolant that may spill out.
Clean the mounting area to remove any debris or old sealant.
Other steps
Prepare the New Sensor:
If required, apply a small amount of thread sealant to the threads of the new Water Temperature Sensor. This helps prevent leaks.
Ensure the sensor is clean and free from any contaminants.
Install the New Sensor:
Carefully screw the new sensor into the mounting hole by hand to avoid cross-threading.
Use a wrench to tighten the sensor to the manufacturer’s specified torque (if applicable). Avoid over-tightening, as this can damage the sensor or the mounting surface.
Reconnect the Electrical Connector:
Attach the electrical connector to the new Water Temperature Sensor, ensuring it clicks into place securely.
Check for Leaks:
Before starting the engine, double-check that the sensor is properly installed and that there are no visible leaks around the sensor area.
Reconnect the Battery:
Reconnect the battery terminals, ensuring they are secure.
Start the Engine:
Start the excavator and allow it to reach operating temperature. Monitor the temperature gauge to ensure the sensor is functioning correctly.
Check for any leaks around the sensor after the engine has warmed up.
Final Inspection:
After the engine has run for a while, perform a final inspection to ensure everything is secure and functioning properly.
Additional Tips:
Always refer to the specific service manual for your excavator model for any unique instructions or specifications.
If you encounter any issues during installation, consult a professional mechanic or technician for assistance.
By following these steps, you can ensure a proper assembly of the Water Temperature Sensor on your excavator, contributing to the efficient operation of the engine cooling system.